Installing hinged doors as replacement wardrobe doors DIY style
We will discuss and layout a brief instruction manuel below with tips and tricks of how to install our replacement wardrobe doors in the comfort of your own home.
DIY Method
Stages
- Buy your doors online or at a showroom
- Install your carcass (optional)
- Drill pilot holes on carcass
- Drill / screw in your hinges to the wardrobe door
- Drill / screw in your screws (x 12 per pair of doors)
- Check doors close and open properly
- Attach replacement handles (optional)
Step 1 – Buy your doors online or at a showroom
You can either shop online or go to a showroom, however the prices as showrooms can be inflated due to higher business rates. Online shops like Just Wardrobe Doors can afford to run a sustainable operation with much lower product costs.
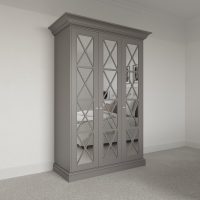
Step 2 – Install your carcass (optional)
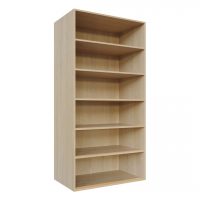
This step is option depending on weather you are installing wardrobe doors as replacement wardrobe doors or doing a full wardrobe installation with carcass, plinths and columns. The carcass should be installed on an even surface with carpet removed if needed.
Step 3 – Drill pilot holes on carcass (optional)
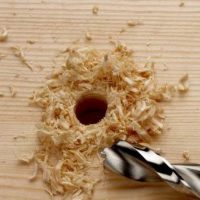
You must then use a 2-3mm drill bit to make a “pilot hole” in the carcass where your hinges will be placed and screwed in later. This acts as a housing for the screw to be screwed in later. In a replacement wardrobe door scenario your pilot holes might already be drilled. In this case it’s about placing your hinges correctly and in-line on the wardrobe door it’s self.
Step 4 – Drill / screw in your hinges to the wardrobe door
This step is essential and must be measured twice, performed once! Use a measuring tape and pencil to mark where your drill holes in the door will be. Use your carcass to measure where the holes need to be.¬† Check these line up in a “dry fit” situation.
Step 5 – Drill / screw in your screws (x 12 per pair of doors)
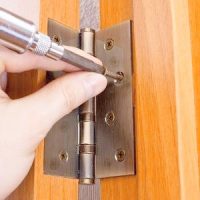
This is where you hold the door and hinge in place to check the pilot holes and the pencil marks you have just made line up. When you are happy – proceed to screw the hinge into the doors.
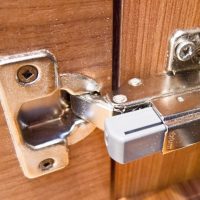
Step 6 – Check doors close and open properly
Open a close your doors a few times, adjust the strews if needed.
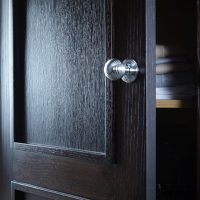
Step 7 – Attach replacement handles (optional)
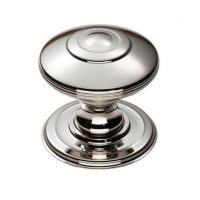
Now it’s time to screw in your replacement wardrobe door handles. You can browse our selection here.
Alternative
If these steps look to complex or you think that you would not be able to complete these in anyway then we highly recommend checkertrade.co.uk. Simple purchase a design that works for you from our shop and we would gladly recommend tradesmen that we already trust and that have experience with our product. They hold an archive of multi skilled professionals to help with the above guide.

